Showing posts with label face paint. Show all posts
As Christmas is approaching faster than Santa can harness the reindeer to his sledge, many of you will be already creating and practising your very own fabulous Christmas face painting creation. There will be those among you that would love to follow suit, but have yet to apply their first brushstroke.

FIRST STEPS: Take things easy at first with simple to do designs. Cheek art is a perfect starting point with basic little patterns featuring holly, berries, snowflakes, stars, Christmas crackers, Christmas trees with a little bauble at the end of the branches, and even little faces. Remember that the theme is Christmas so red, white, green, silver and gold are essential colours. Painting animal markings on the cheeks, eyes and forehead can also look very effective, and because animal markings like tigers aren't straight you will get away with so much whilst perfecting your creation.

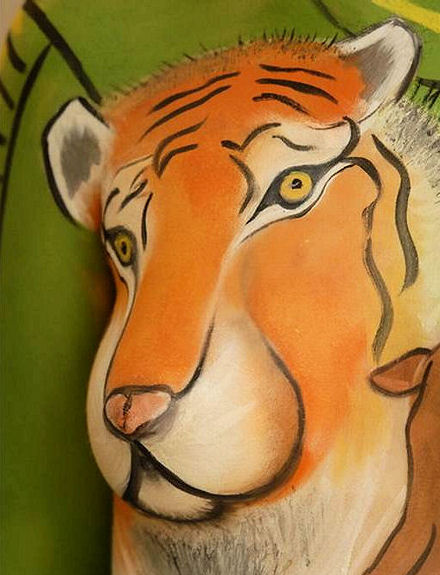
TIGER MARKINGS: Use a round brush with a pointed end and black paint. Tiger stripes are best done in groups of three. Always think big to small. Lay your brush down flat (for a thicker start) and while doing your stroke give it a very light wiggle and taper it off at the end. Each stroke is going to have a curved effect to it. Do a group of three one under the other. This effect would be ideal for cheeks with the markings starting on the outside working in towards the eyes. Doing a similar stroke on the forehead, a group of three on either side and tapering downwards towards the eyes would give a great look for an animal face painting.

PAINTING WHISKERS: If you're face painting any animal fancy dress enthusiasts this Christmas try using a small fine pointed brush, working outwards across the cheeks for a whisker effect. For any fine lines you may be painting, you will find that liquid paints will work the best.

FUR EFFECT: When trying to create a fur effect, use a medium-sized brush, working from the centre outwards. That way the edges taper off. Have a go on paper or a face painting practice pad first until you get to grips with the motion needed for your required effect.

ADVANTAGE OF SPONGES: These will play an important part in your face painting kit, being perfect for applying base coats, large areas of paint on the face and body, and great for blending colours. TIP make them go further by cutting them in half

COLOURS: Don't make the mistake that many learners make and rush out to buy every colour under the rainbow. All you need are your primary colours which are blue, yellow, red and black and white. From these you can mix any colour and shade you want, and it will keep costs down.

GLITTER AND STICK-ON JEWELS: Depending what design you are doing, stick-on jewels, diamante and glitter can be used to stunning effect. However, as with face paint, you need to remember to use only glitter and stick-on jewels that are safe to put on a person's skin (eg body glitter). NEVER use aluminum glitter - polyester only. Aluminum glitter can really hurt the eyes and skin.

FAMILY AFFAIR: Use your family and friends to practise on, trying out different ideas. If you begin practising now, you'll be confident enough by Christmas to paint a whole face and there are some quite spectacular and highly popular choices to have a go at. The Ice Queen and animals will always be favourites along with the traditional Santa and Rudolph.

These easy face paint recipes show how to make homemade face paint using common household ingredients. Mix and store in baby food jars or discarded film canisters. Be ready for your next kids party or dress-up event.

HOMEMADE FACE PAINT RECIPES

Facepaint Recipe #1

1 tsp. Cornstarch

½ tsp. Cold cream

½ tsp. Water

Food coloring (variety of colors)

Mix together cornstarch and cold cream until well blended. Add water and stir. Add food coloring one drop at a time until you get the desired color.

Facepaint Recipe #2

3 tblsps. Cornstarch

1 tblsp. Flour

3/4 cup Karo light corn syrup

1/4 cup water

½ tsp. Liquid food coloring

Mix cornstarch and flour together in a bowl. Gradually stir in Karo syrup and water until smooth. Divide mixture into individual containers as needed and tint each one with the food coloring of your choice. Leave one batch untinted.

***************************************

Clown Make-up

Blend on a paper plate:

2 tblsp. shortening

5 tsps. cornstarch

1 tsp. flour

Dab of Vaseline

Add food coloring for various colors.

***************************************

Fake Blood for Halloween Party Make-up

Karo brand corn syrup

Red and blue food coloring

Milk

Add some red food coloring to the corn syrup, then just a drop or two of blue to get a more realistic dark color. Milk will make the blood appear more opaque and more realistic.

Note: This mixture is sticky and can stain clothes.

****************************************

More Fun Make-up Tips:

To lightly blacken faces, carefully burn a cork and when cool, rub on the face.

For a ghoulish look, add a dusting of flour to already made up faces.

For a stubbly bearded look, sprinkle tobacco over a thin layer of vaseline.

Halloween is such fun for kids of all ages, and adults too. Here are some face painting ideas to get you in the Halloween spirit.

Halloween face painting idea 1: pumpkin

A bright orange pumpkin painted on each cheek. Black paint used to paint eyes, nose and mouth. A light grey would be used to show the ridges of the pumpkin as well as its outline.
An alternative would be to do a full face pumpkin with an orange face base (blending a darker orange shade over cheekbones), black triangle shape over the eyes (extending above and below the eye area), a black nose and a large black mouth (need to cover more than just the lips).

Halloween face painting idea 2: skull

A full face design. Has a white face as the base, large black 'panda' eyes, black and white vertical stripes on the lips (with the white stripes wider than the black ones) and a trickle of red from one side of the mouth (to indicate blood).

Halloween face painting idea 3: vampire

A full face design. A white face base, bright red lips, fangs coming out of each corner of the lower lip (outline is light grey, fill is white, and tip is red to denote some blood), eye lids are smoky grey (right up to and over eye brows), eye brow then exaggerated with black sweeping strokes.

Halloween face painting idea 4: bat

A full face design. A white face base, bat's face painted on forehead above the nose (it's in black with light grey for eyeballs, and for some definition in ears); the bat's body is painted in black on the nose and ends at the base of the nostrils (use different shadings of black; the bat's wings extends out from head and body and covers the eyes curving up towards the temple and down the outside of the eye to mid cheek (again use different black shadings and some fine dark grey strokes to paint some definition into the wings); the lips are painted in dark grey with an exaggerated upward curl at the corners.

So you’ve decided you would like to learn how to paint faces. You want to see your painting bringing joy and delight to young children, maybe at your child’s birthday party. Or maybe you want to be a professional face painter.

Face painting really can be a very fun and fulfilling job, but it can also be a lot of hard work.

But if you’re a beginner, how do you get started? This is what I’m going to answer for you in this article.

One of the best ways of learning is to take a face painting class. It’s hard to say where to find a face painting class near you. Sometimes you can take face and body painting classes at college. Sometimes you can get free face painting classes at certain events. If you were to search Google for “face painting class + your area” you may be able to find someone who can give you some tuition.

If you want to learn advanced face painting techniques, classes are one of the best ways of learning, especially if you want to improve your painting skills quickly.

If you can’t find face painting classes in your area (they aren’t always many around, so it’s certainly no crime if you can’t fine one) then you may like to learn from face painting instructional books.

If you search a popular book site like Amazon, you’ll be able to find a whole host of books to do with face painting. Read the reviews to find out which is best suited for you.

Another good way for a beginner to learn face painting, is with instructional videos. The obvious benefit over books is that you can actually see how something is done in a video, as apposed to just reading about it.

But sometimes, if you’ve already got some face painting skills, all you need is a little experience to help you build your confidence.

Would you like to know the quickest way to get lots of practice?

It’s simply this: Contact your local children’s school and offer to do free face painting for an afternoon. Now you may get turned down… but most likely, they will be very keen to let you do this if you aren’t charging anything. This is a powerful way to gain experience fast.


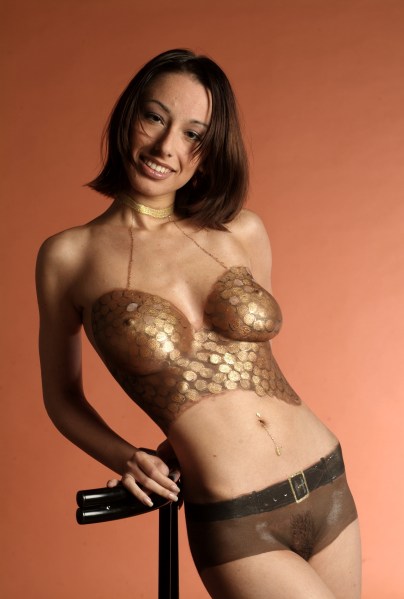
This beautiful body painting in 2010.................
Related Posts Plugin for WordPress, Blogger...